


Banged and Bruised – Keeping Myself in the Game
Banged and Bruised – Keeping Myself in the Game
Not one of the first things that come to mind when thinking of individual time-trial style sports, but Skeleton isn’t the typical sport. In some instances, it can be faster to hit a wall than to try and avoid it. Because of these factors, I tend to get banged up while training and competing. However, I have taken great strides to keep myself working at peak performance.
One of the biggest challenges while sliding is repeated impacts against the concrete walls of the track. As I’m on the larger side of the Skeleton athlete distribution, my arms tend to take the biggest beatings of all. But with constant bumps and taps down the track, contusions begin to pile up. Unfortunately, this constant production of damage and scarring tissue can lead me to develop fibrosis if left unchecked. Luckily, I’m not just some crazy-canuck going in without a plan. Being a Kinesiologist, I have the tools and know-how to treat my injuries almost immediately after receiving them and,d in essence, preventing my arms from becoming fibrotic!
How I Treat My Arms After a Rough Day in the Office
Baseline and Assessment of Injury
First I check to see if I have any noticeable blood or lacerations.
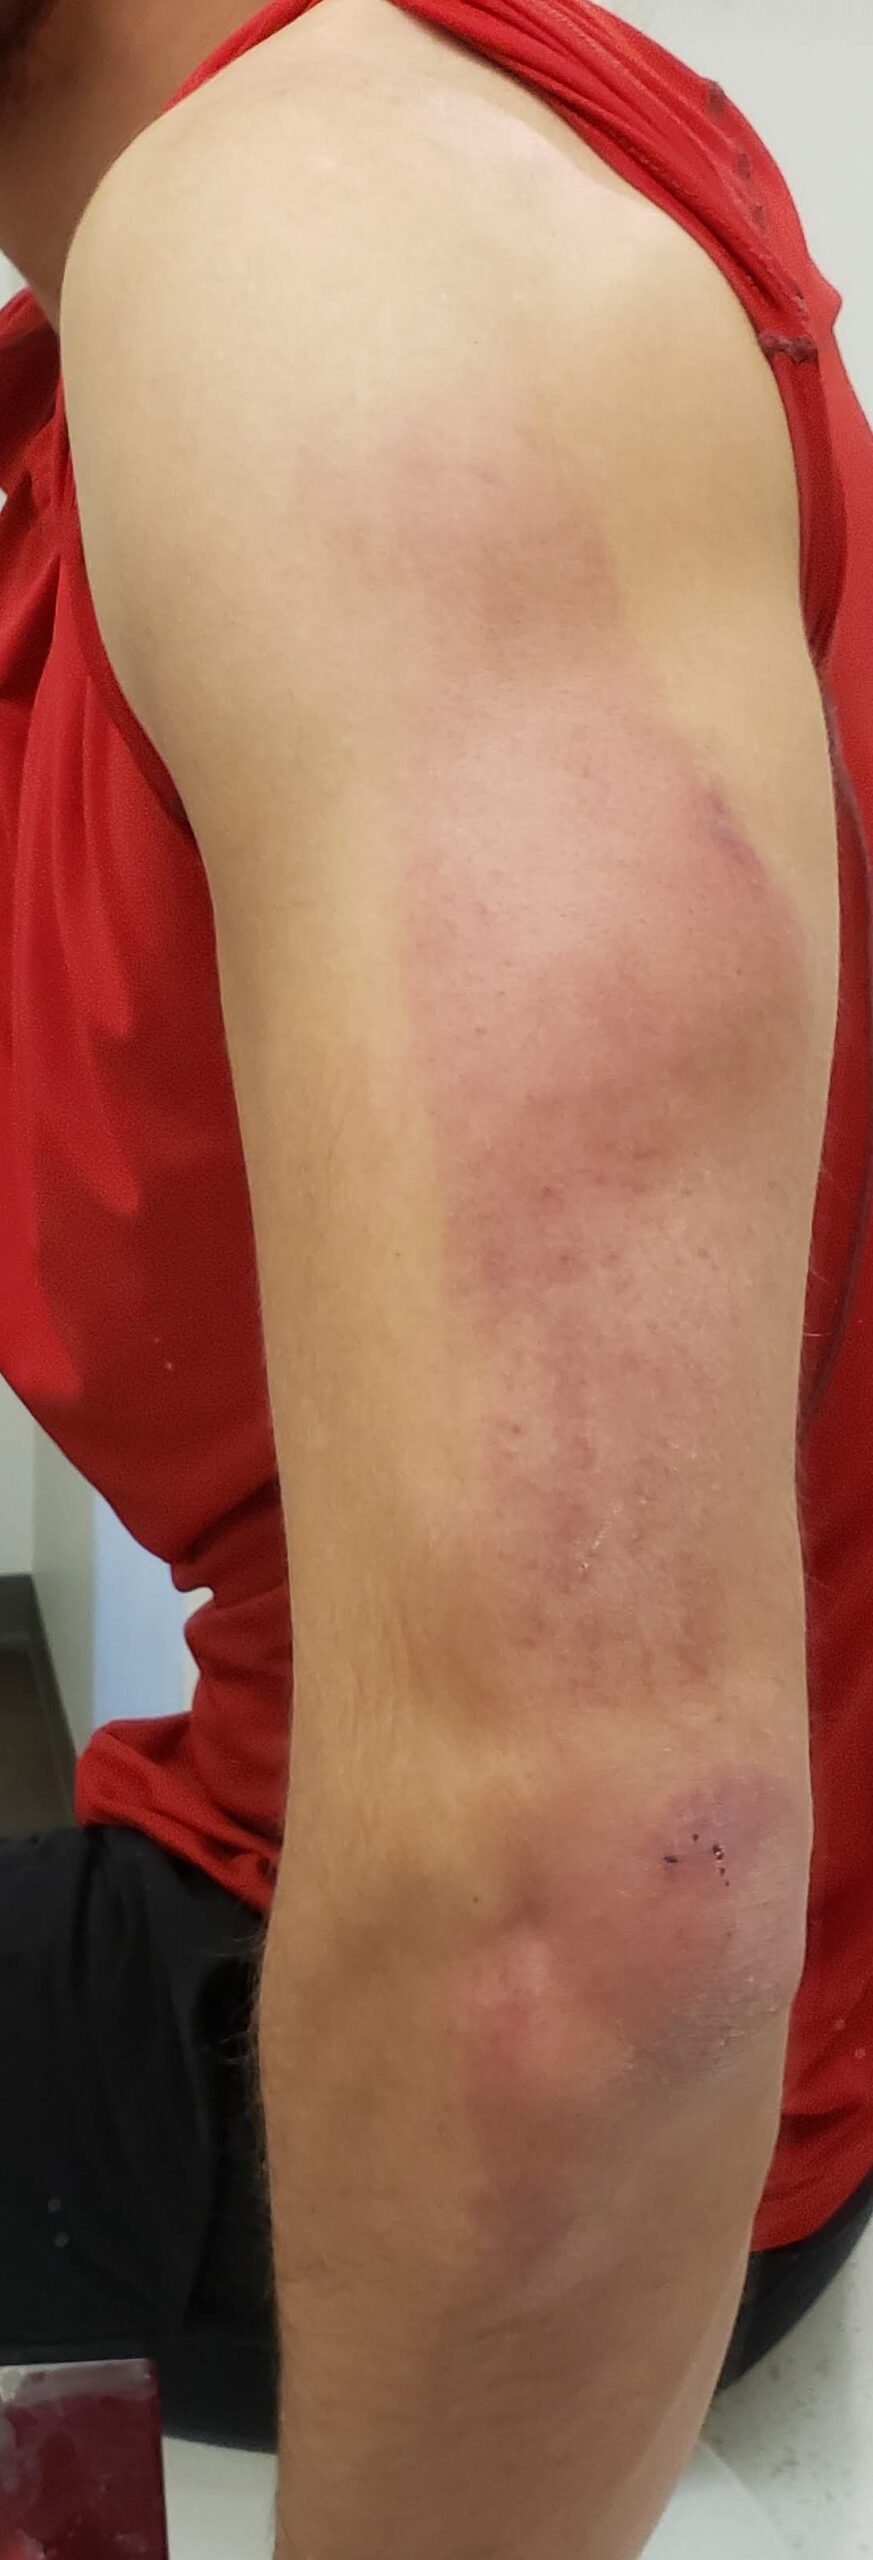
- As you can see in Photo 1, I have a cut on the top of my shoulder.
- I clean and disinfect it first before I begin the rest of the assessment.
Is there an altered sensation?
-
-
Using a pointed object, find the areas with plain backside and loss of sensation and “draw” it out (incircle the area with a different sensation)?
- This will be the area of most importance during any manual modalities I use later.
-
Using a pointed object, find the areas with plain backside and loss of sensation and “draw” it out (incircle the area with a different sensation)?
I assess the capacity of my injured arm.
- Glenohumeral Joint – flexion/extension, internat/external rotation (at side and at 90-degrees), and abduction/adduction.
- Elbow – supination/pronation and flexion/extension.
- Shoulder Girdle – protraction/retraction, elevation/depression, and upward/downward rotation.
-
These notes will important to track my injury recovery.
- Baseline
Determine the level of the contusion.
-
-
- Color variation and intensity.
- Shape of contusion.
-
If blood has been pushed through the skin.
- If the impact is hard enough, pressure can force blood through the skin with the skin being cut.
-

Inflammation level
- Compared to the other arm.
- Only if the other arm is not also injured.
-
Capillary refill rate
- Is it delayed or normal?
Photos 1 and 2 – My arms after a rough day of training. Note the small black/deep purple dots; these are areas where pressure is pushed through my skin.
Take photos
- Progress tracking
Treatment Selection and Prescription
Depending on the severity of the contusion, I may include the use of IASTM. Suppose the tissue has already suffered substantially and is painful to the touch. In that case, I will only use pain modulation strokes to help reduce skin level sensitivity and promote the area’s lymphatic drainage.
- Elevate the arm above the heart to enable gravity to pull fluid out.
- To assist in the fluid capture, I begin with light strokes over the joints to help relax the tissue and allow fluid flow using the mohawk’s comb attachment.
- Starting from the hands, I work my way down my arm using light strokes to capture the fluid. I spend around 30-60s at each section (hand, forearm, and upper arm) using very light pressure – essentially just resting the comb on my arm and sliding it across.
-
- Depending on the severity, I will complete this process 2-4 times.
Prepare the skin from tape application.
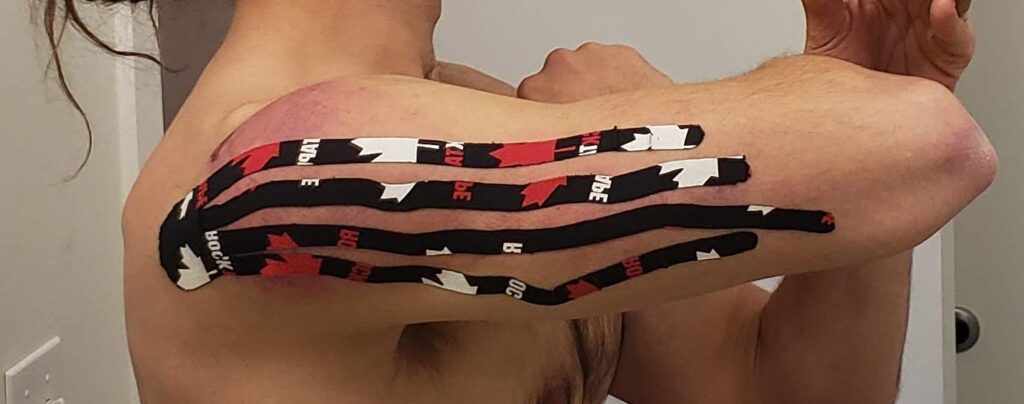
Finally, apply the tape with the skin in a stretched position to ensure that wrinkling is achieved!
-
-
- Ensure that the anchoring position is placed inline the lymph node of interest.
- Bothbackside the anterior and posterior regions of my glenohumeral joint and my elbow are in my case.
-


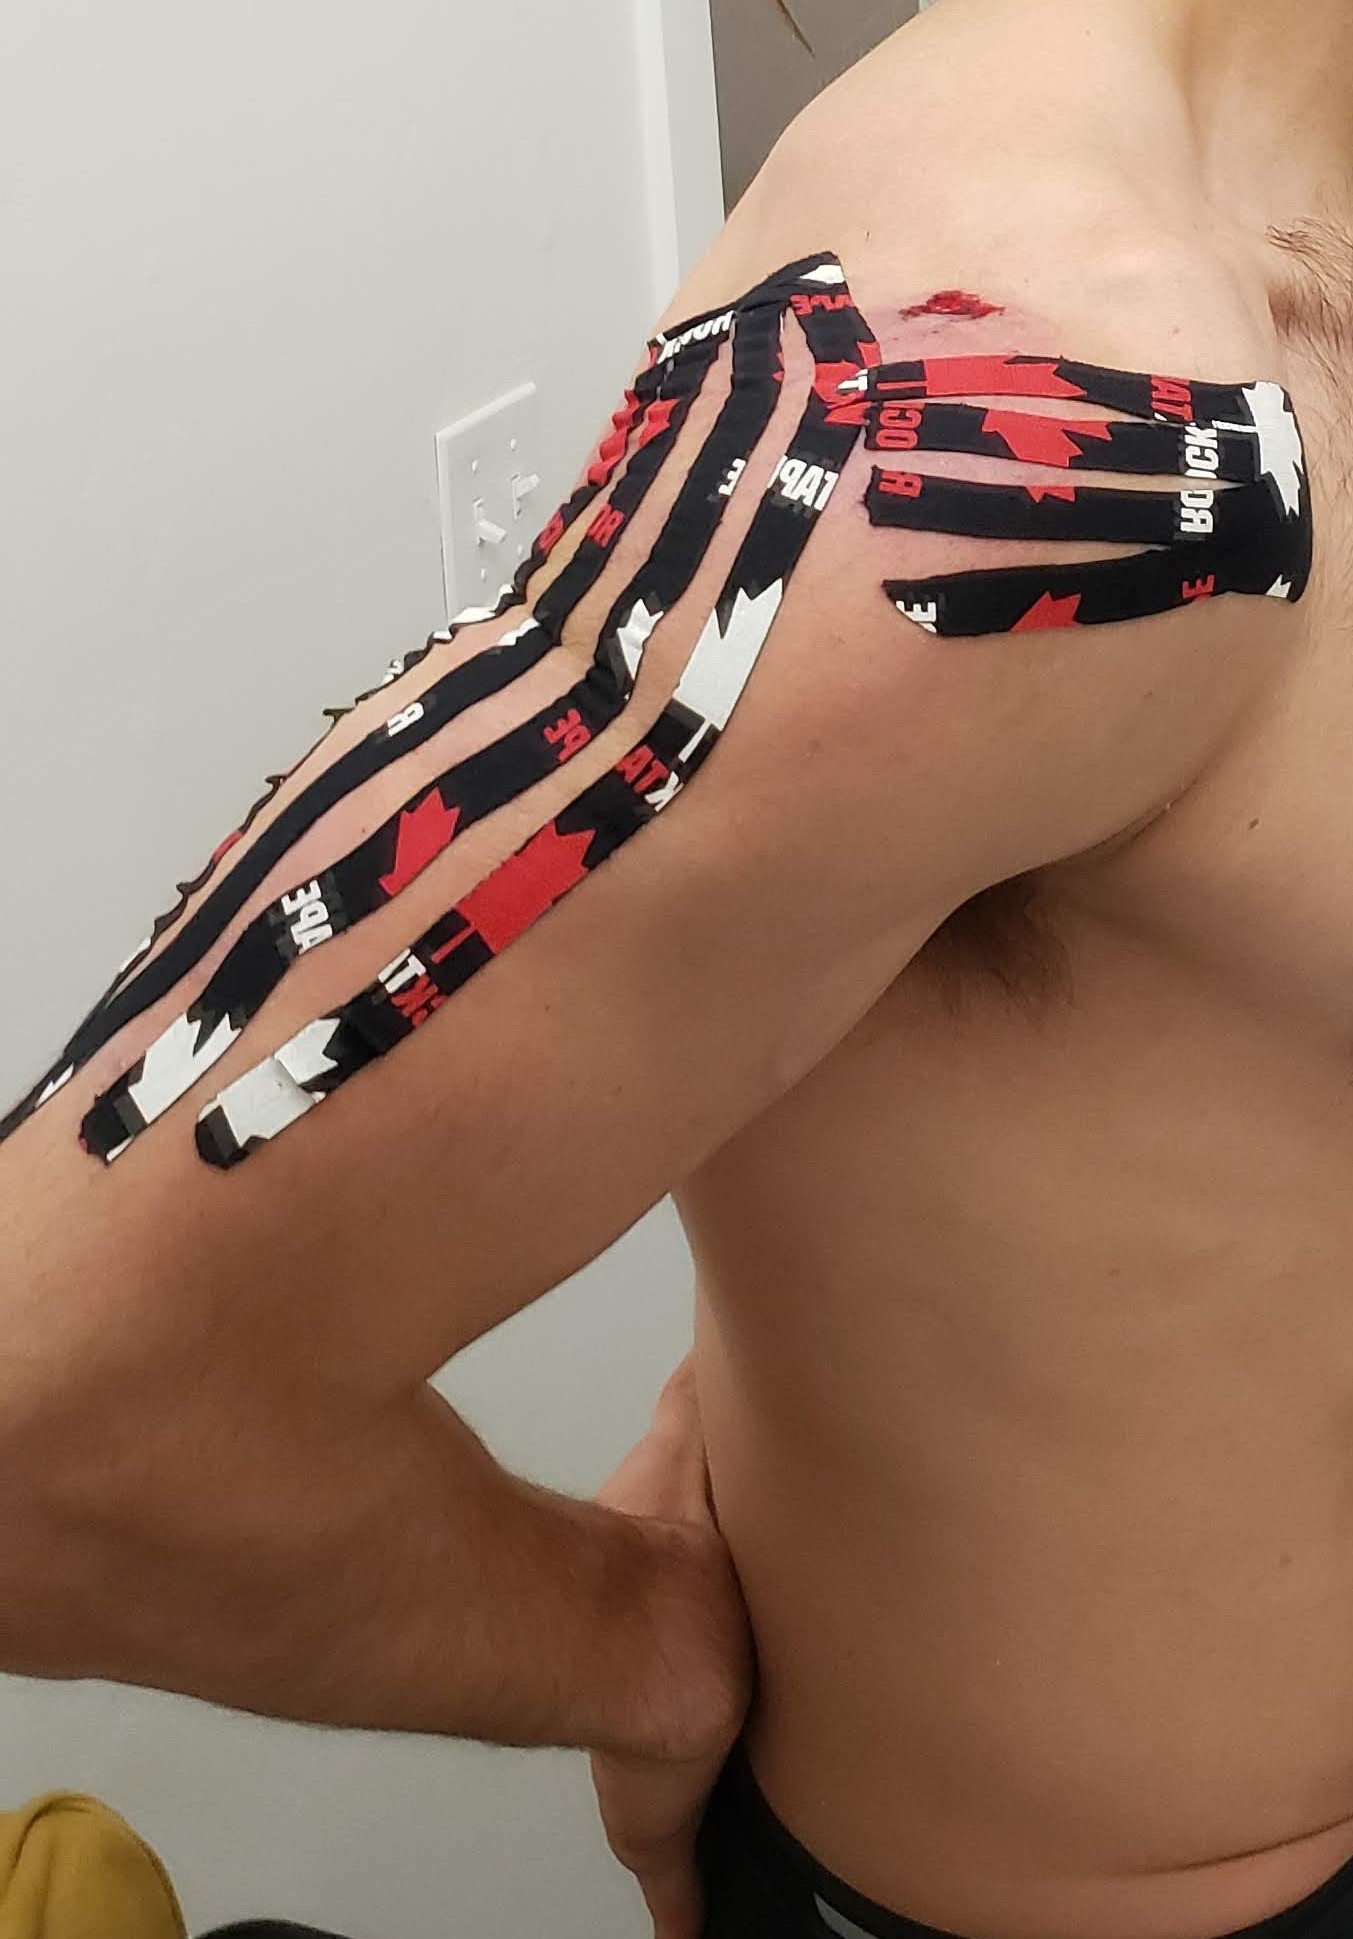
Photo 3 – Holding my arm in to create as much skin tension as possible.
Photo 4 – Application of fluid capture tapping for lateral/posterior aspect of my arm.
Photo 5 – Position and additional fluid capture taping for the anterior aspect of my shoulder. See the nice tape wrinkling on the back of my arm.
Periodically, every 2-3 hours, do another 1-2 rounds of steps 1-3.

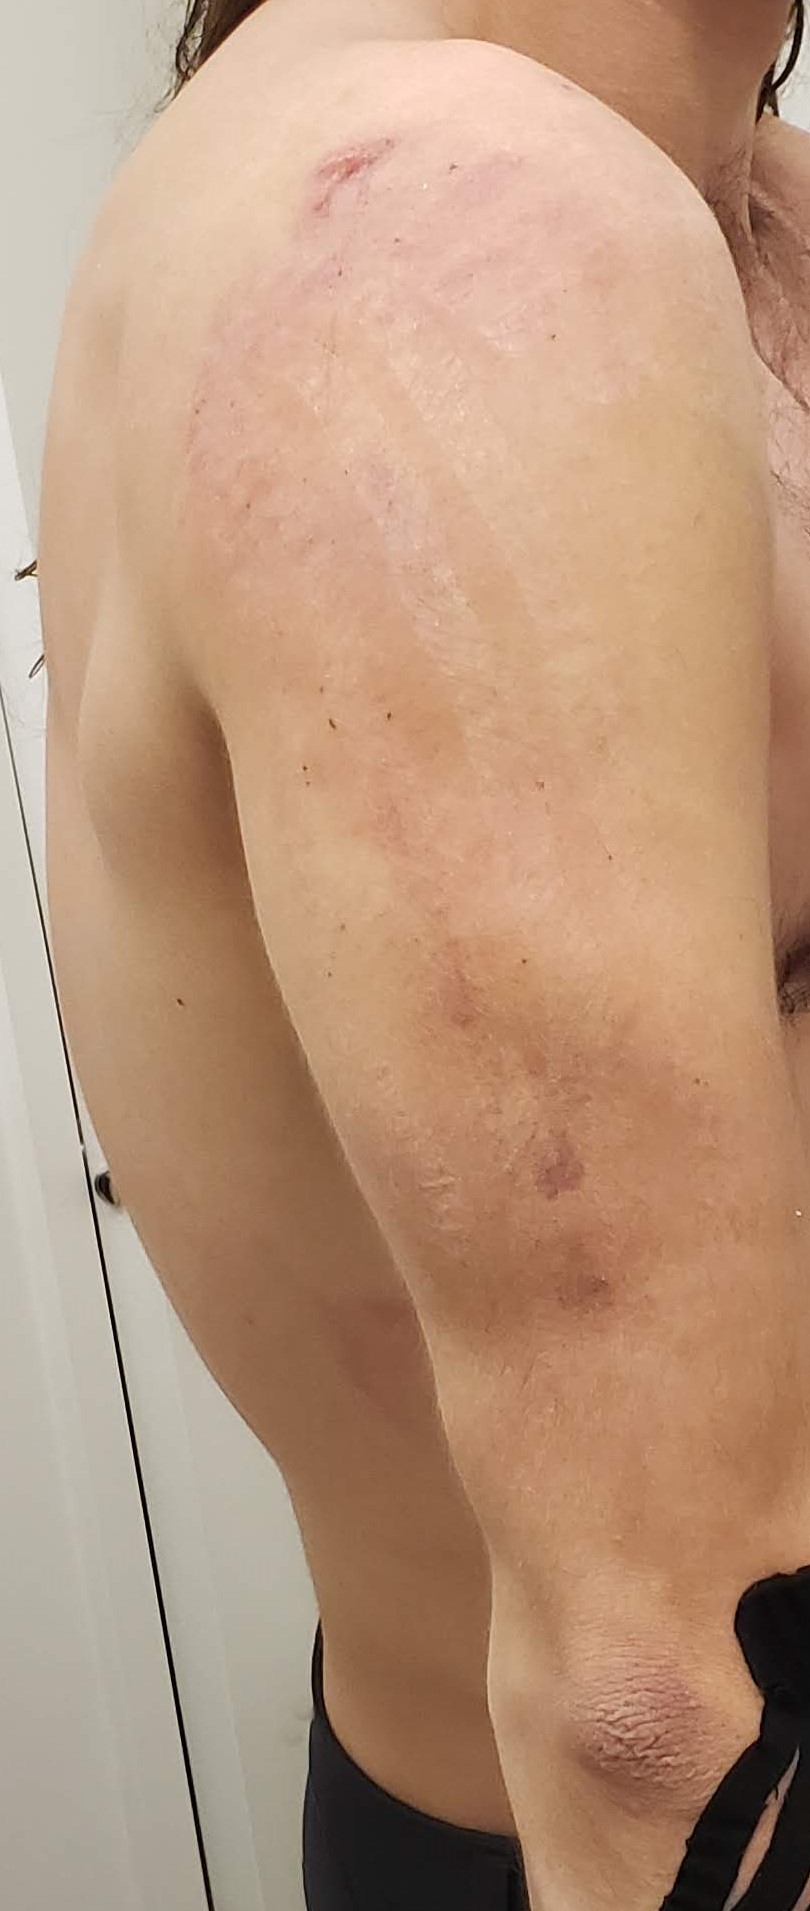
Photos 6 and 7 – Comparison of my arm 1-hour post-injury and 48 hours post initial treatment.
The moral of the story, take care of injures as soon as possible. Take a multi-modal approach to the healing process. Integrate your skills to create a prescription more significant than the sum of its parts. Start the healing process and get back in the game!
–
Troy Wilson, Wilson Kinetic Health, BScKinH, MScKin, PKin, Team Canada Athlete
more blogs