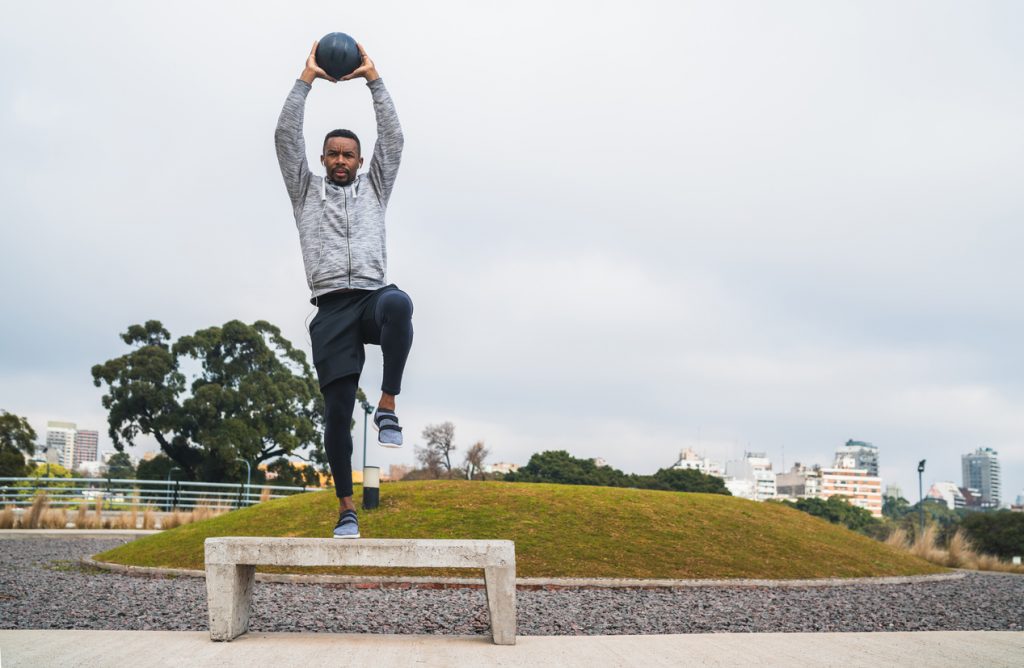
Core Principals: Motor Control & Stability
Everybody knows that building core strength goes hand in hand with improving your athletic performance. But, did you know that being able to control your core and stabilizing muscles maybe even more important to your performance than strength training? Now don’t get me wrong. Building your core is quite important, and I’m not suggesting that you throw out your strength training sessions. What I am suggesting is for you to think about how you use your core in relation to your sport.
Motor control and stability are not necessarily indicators of how strong your core is. It’s not the size that counts, it’s how you use it! Control and stability are fundamental components to your performance. They provide coordination and timing around your joints as well as resisting forces that are occurring elsewhere in your body. The stability that allows you to do what you do. It involves alignment of your joints, dynamic posturing, and creating a rotational axis from where your deep core and stabilizers can fire from.
There are two types of motor control and stability; static and dynamic. Static motor control stabilizers resist forces occurring elsewhere within your body during activity. For example, maintaining a streamlined body during freestyle swimming. Dynamic motor control occurs when a section of the body changes position while another section maintains its position in a different plane; i.e. pitcher throwing a baseball.
When developing your motor control and stability, it is important to start off with your static motor control. That way you can control compensations and unwanted movements to maintain efficient body positions as you move. Whether it is running, cycling, swimming, racquet sports, or martial arts. Eliminating unwanted or inefficient movements will translate into increased power, speed, and endurance.
Here are several corrective exercises that will help you to synchronize your core activation with static and dynamic movements. These are just a sample to get you started in building a foundation to set you up for more advanced and loaded correctives in the future.
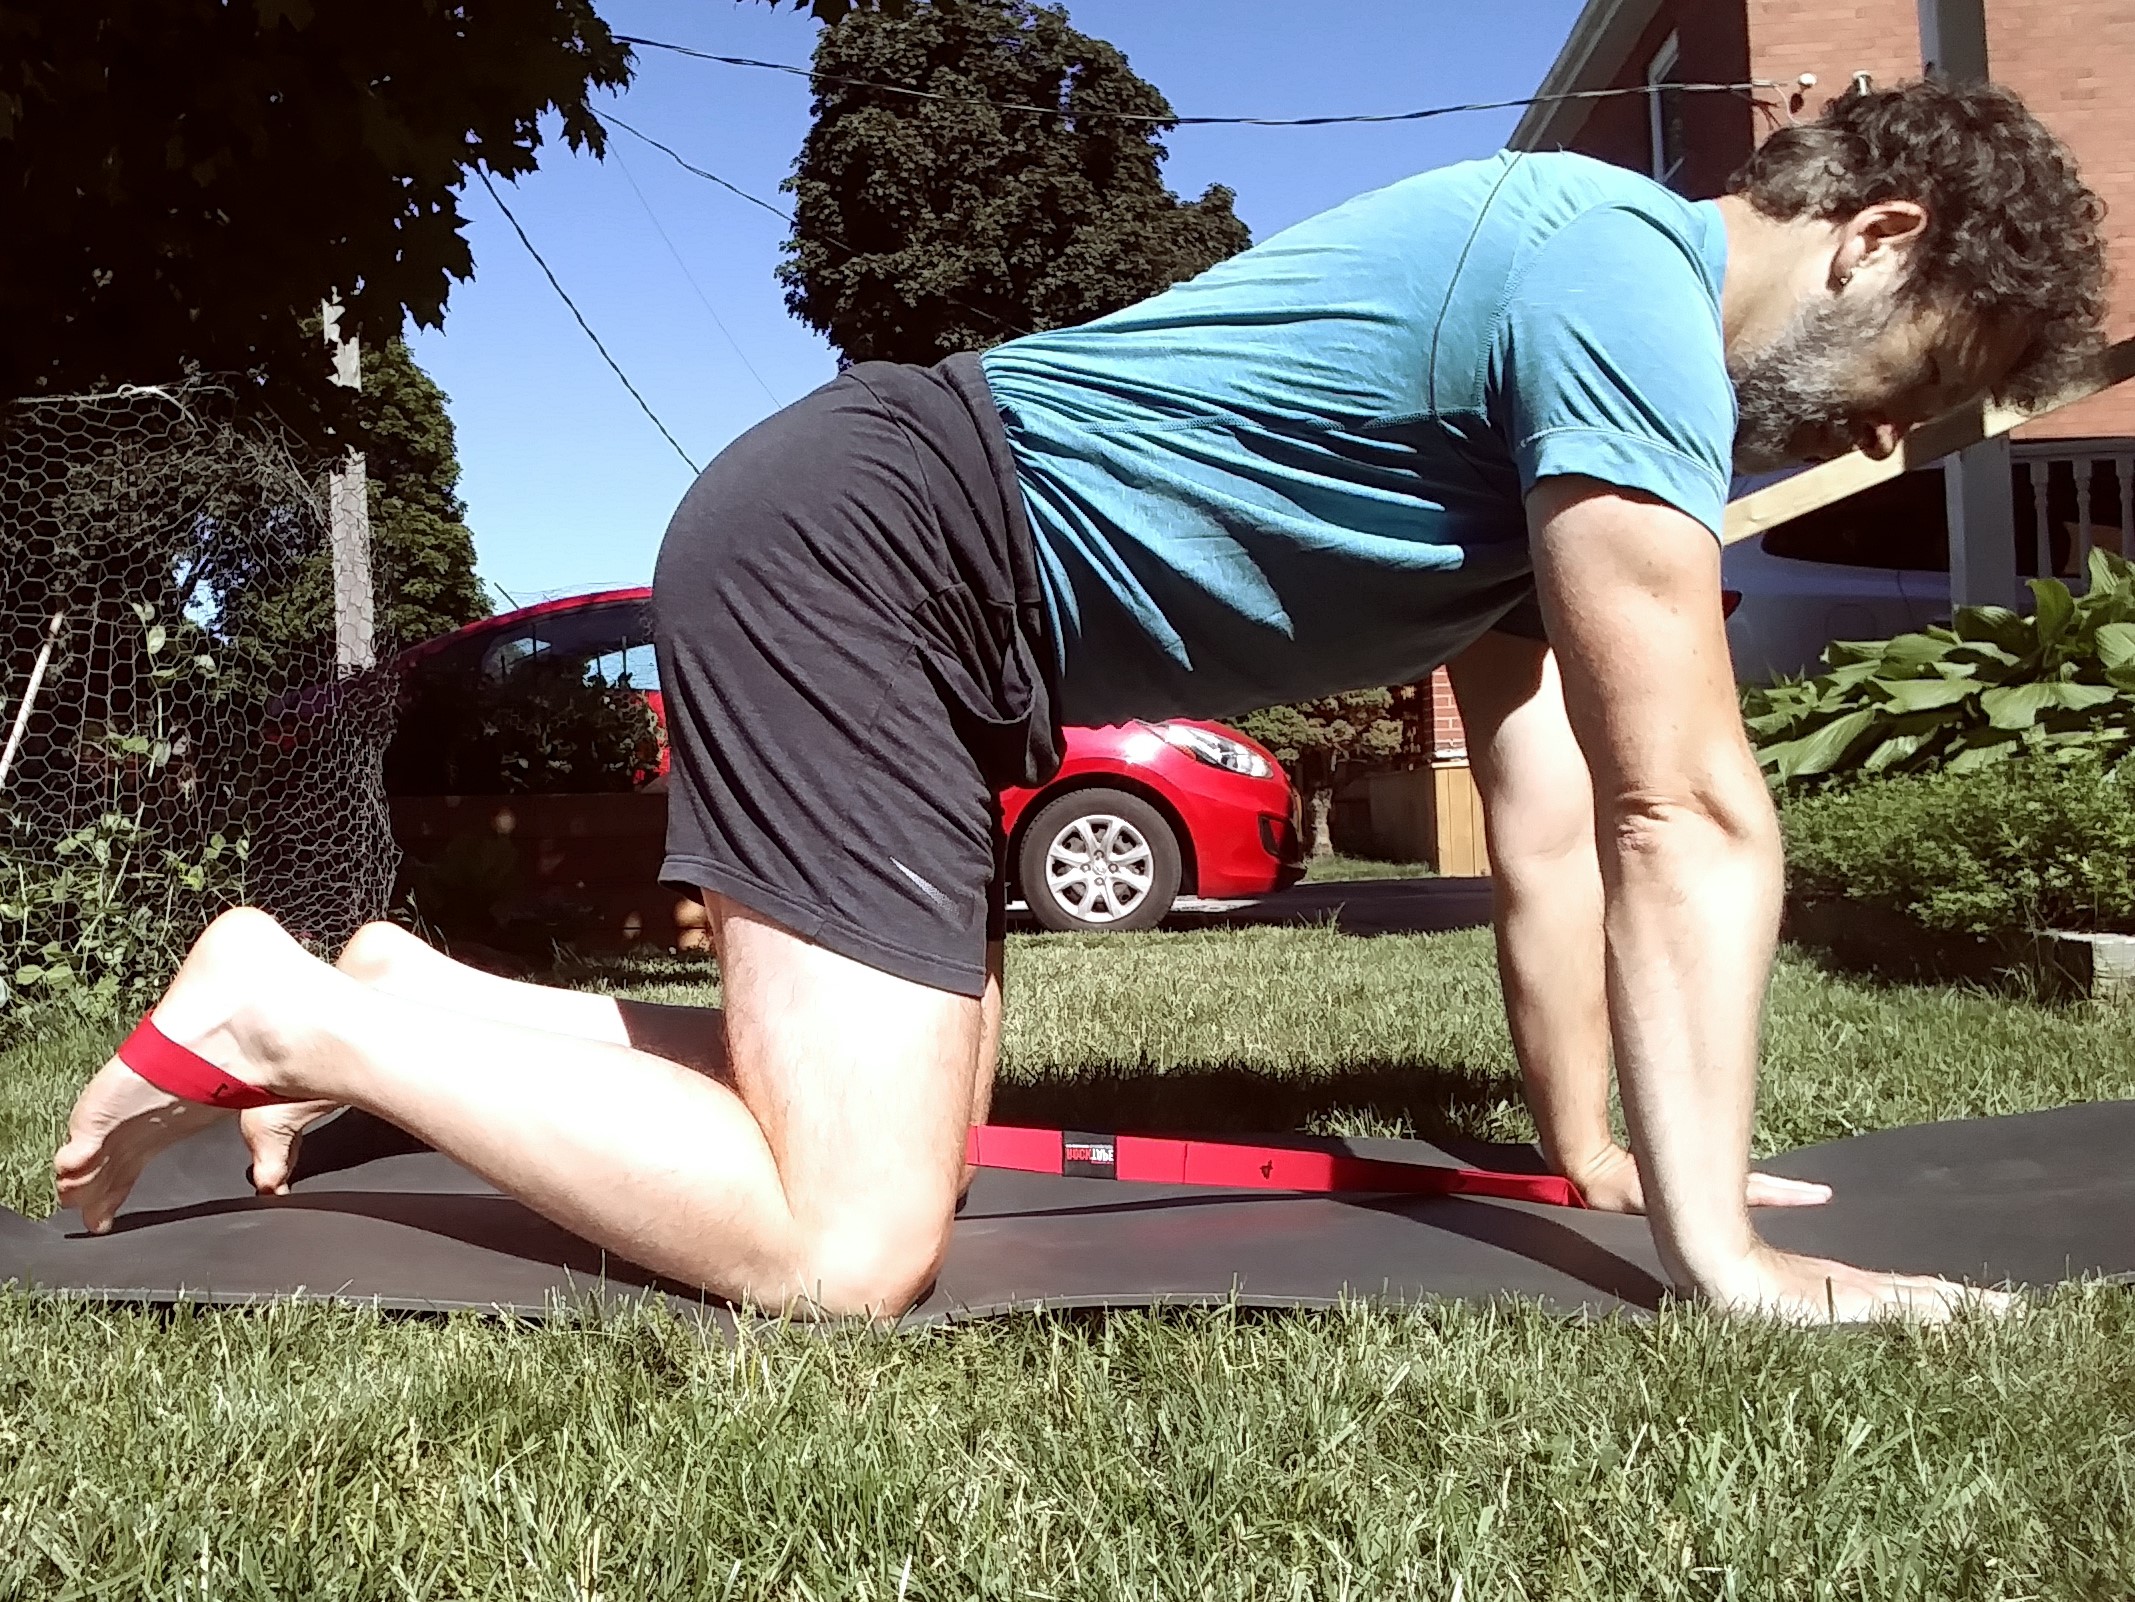
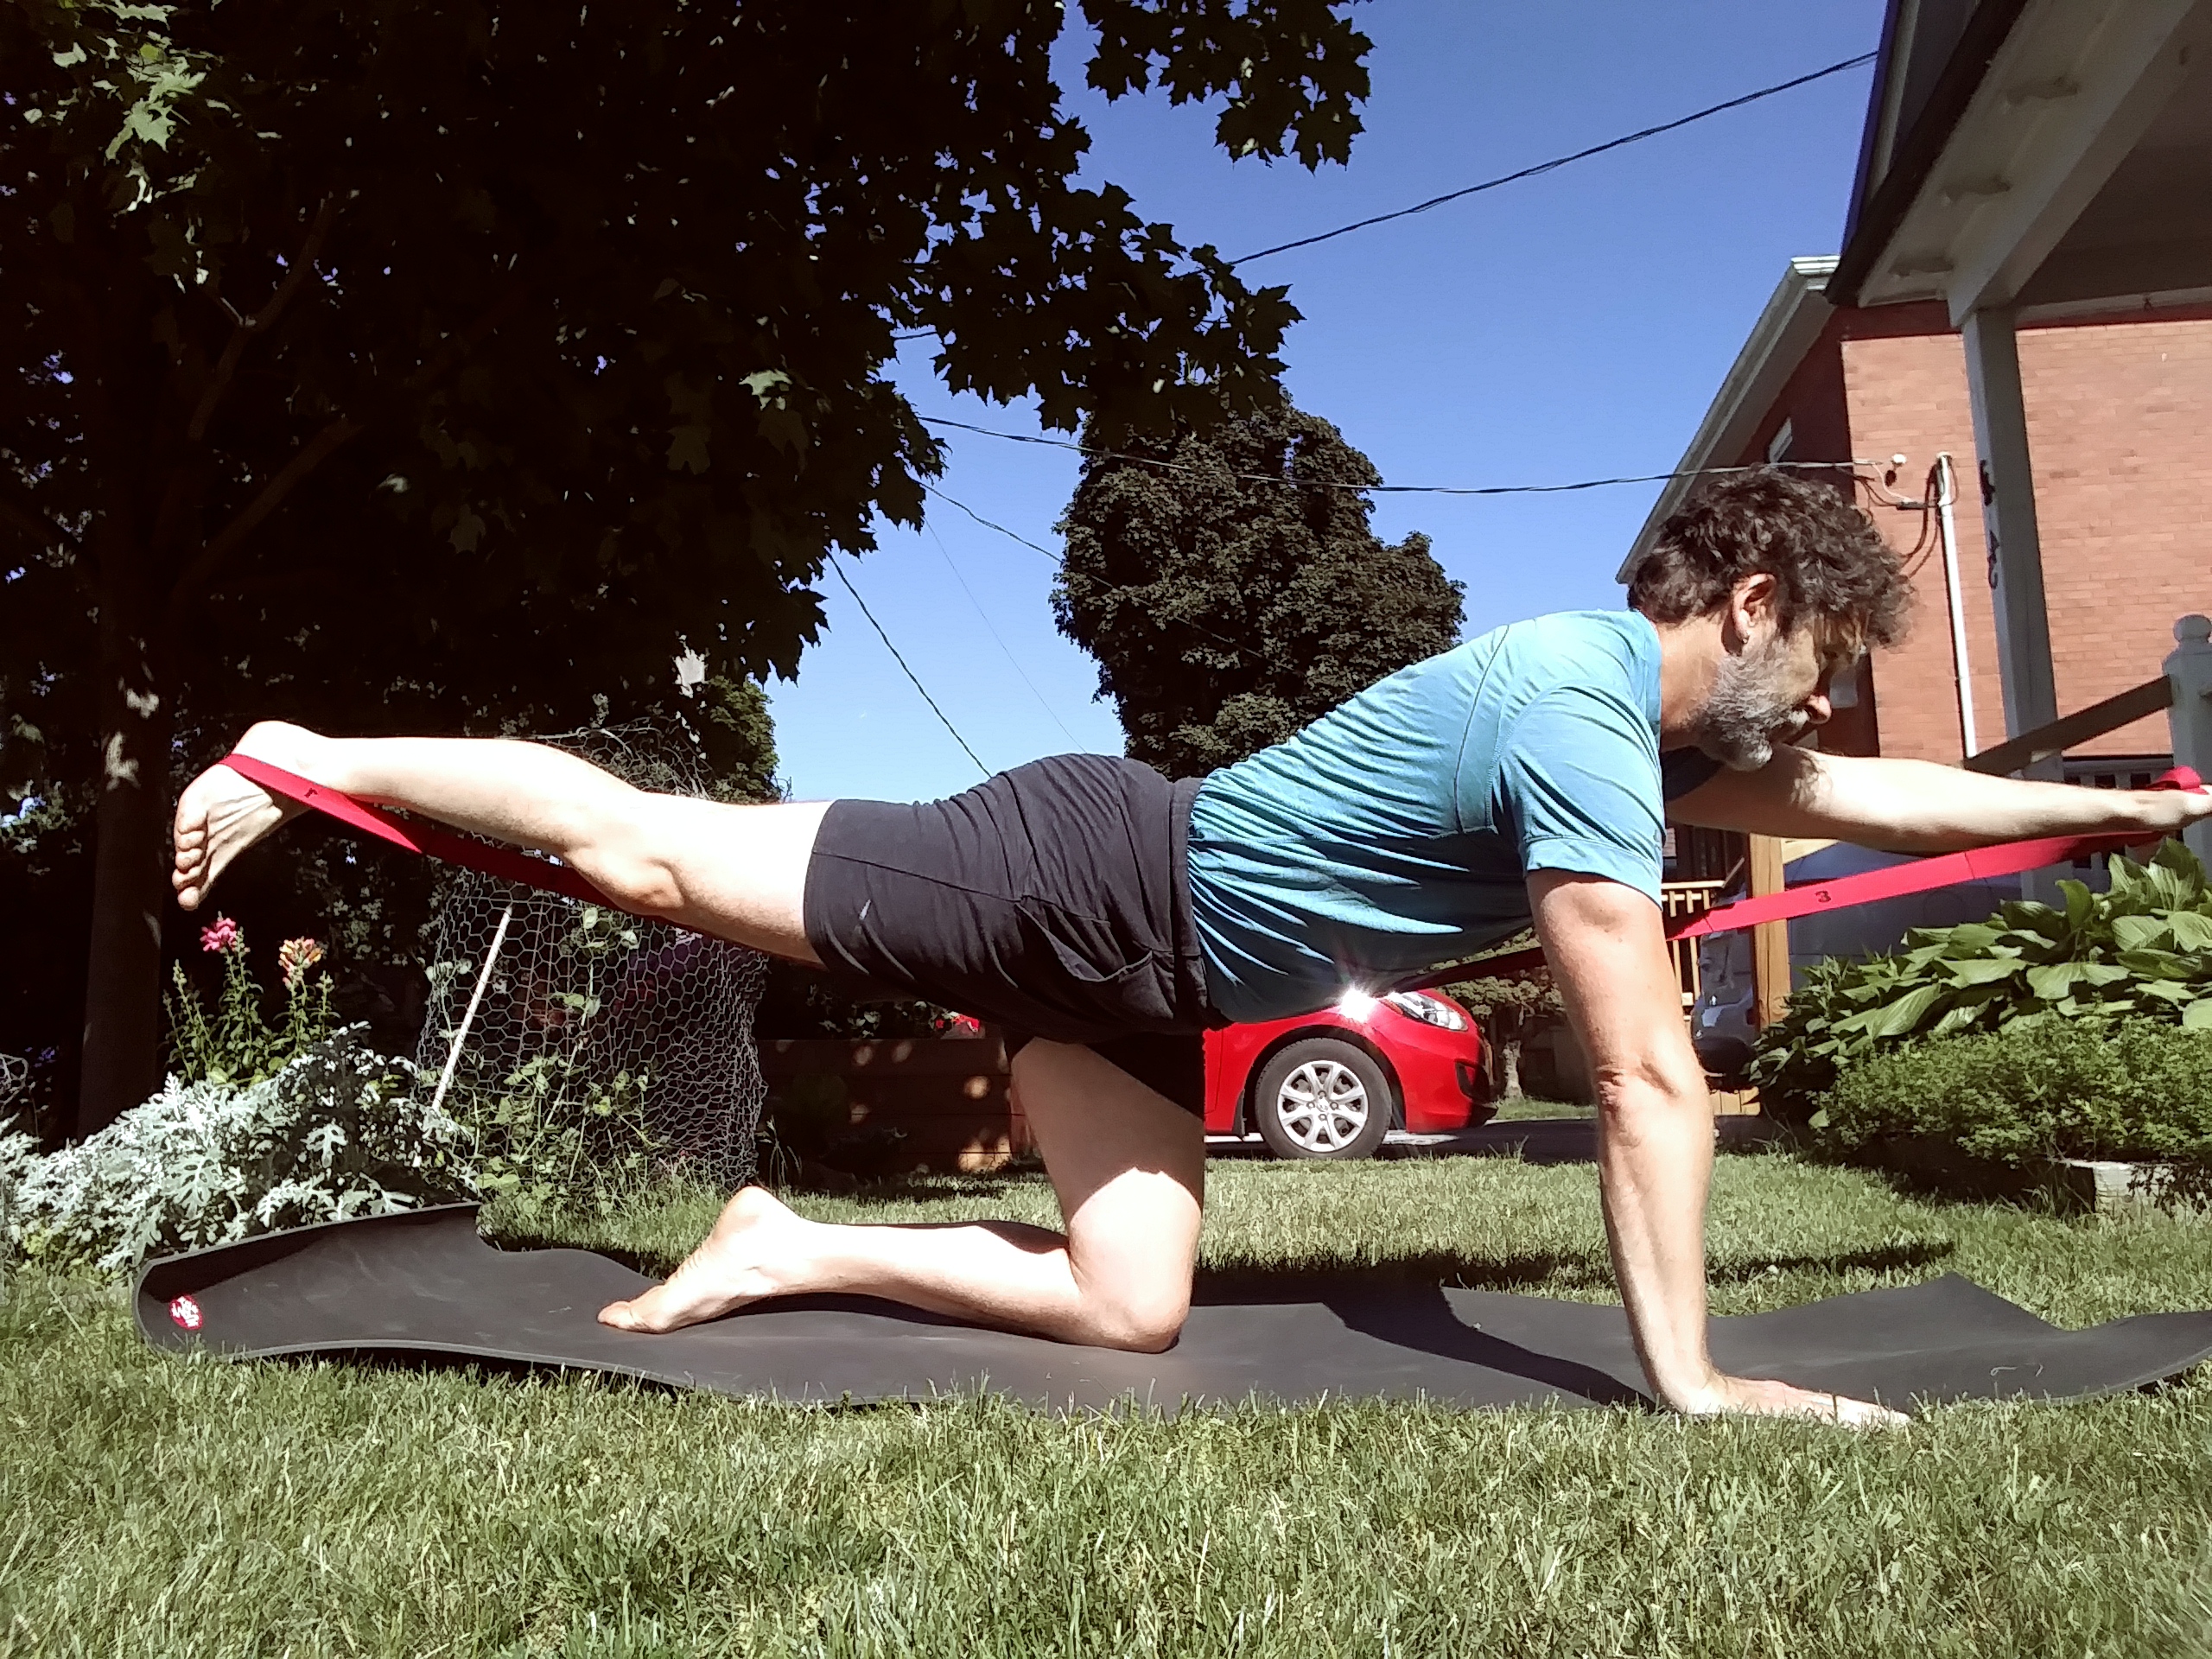
Quadruped Diagonal
Setup: Start by being in a stable position. Place one foot through the end loop of a RockBand Flex. Insert the opposite hand to the foot used, into a loop at the other end of the band. Increase the resistance as much as is needed. The higher the number, the greater the resistance. Ensure that your hands are under your shoulders and your knees are under your hips.
Action: Engage your core and extend one leg. Extend the opposite arm to the leg. Return to the start position
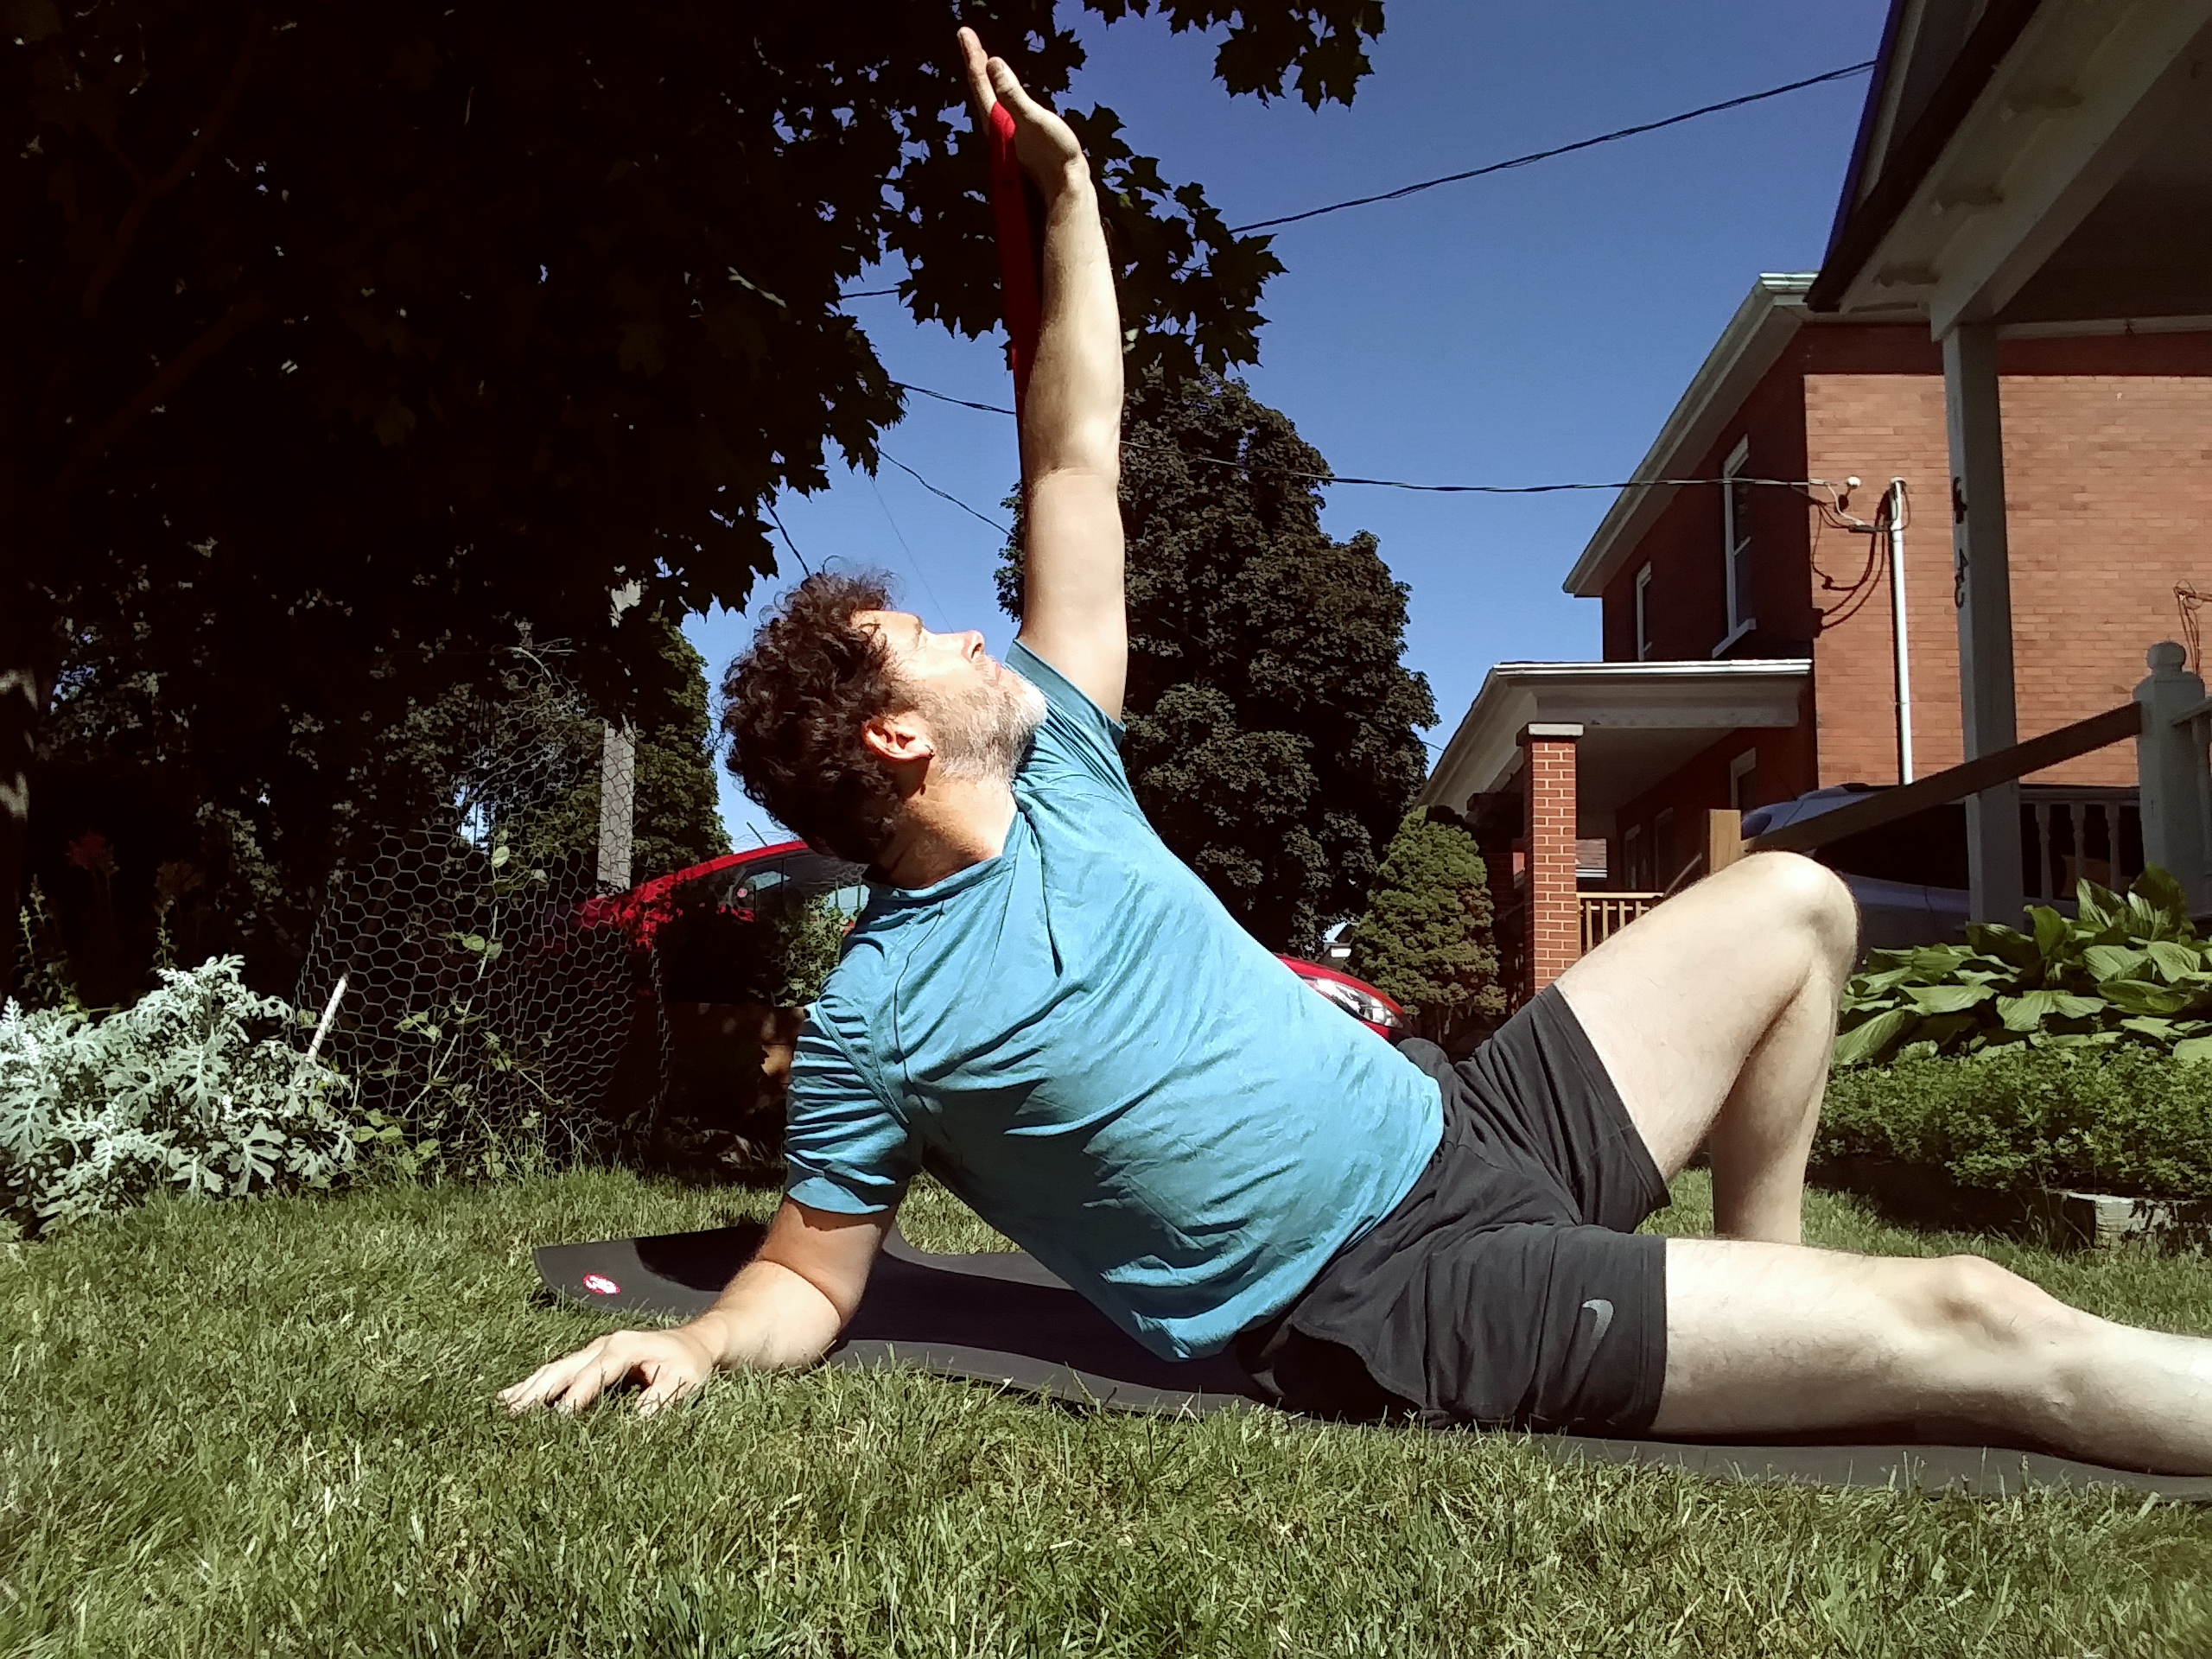
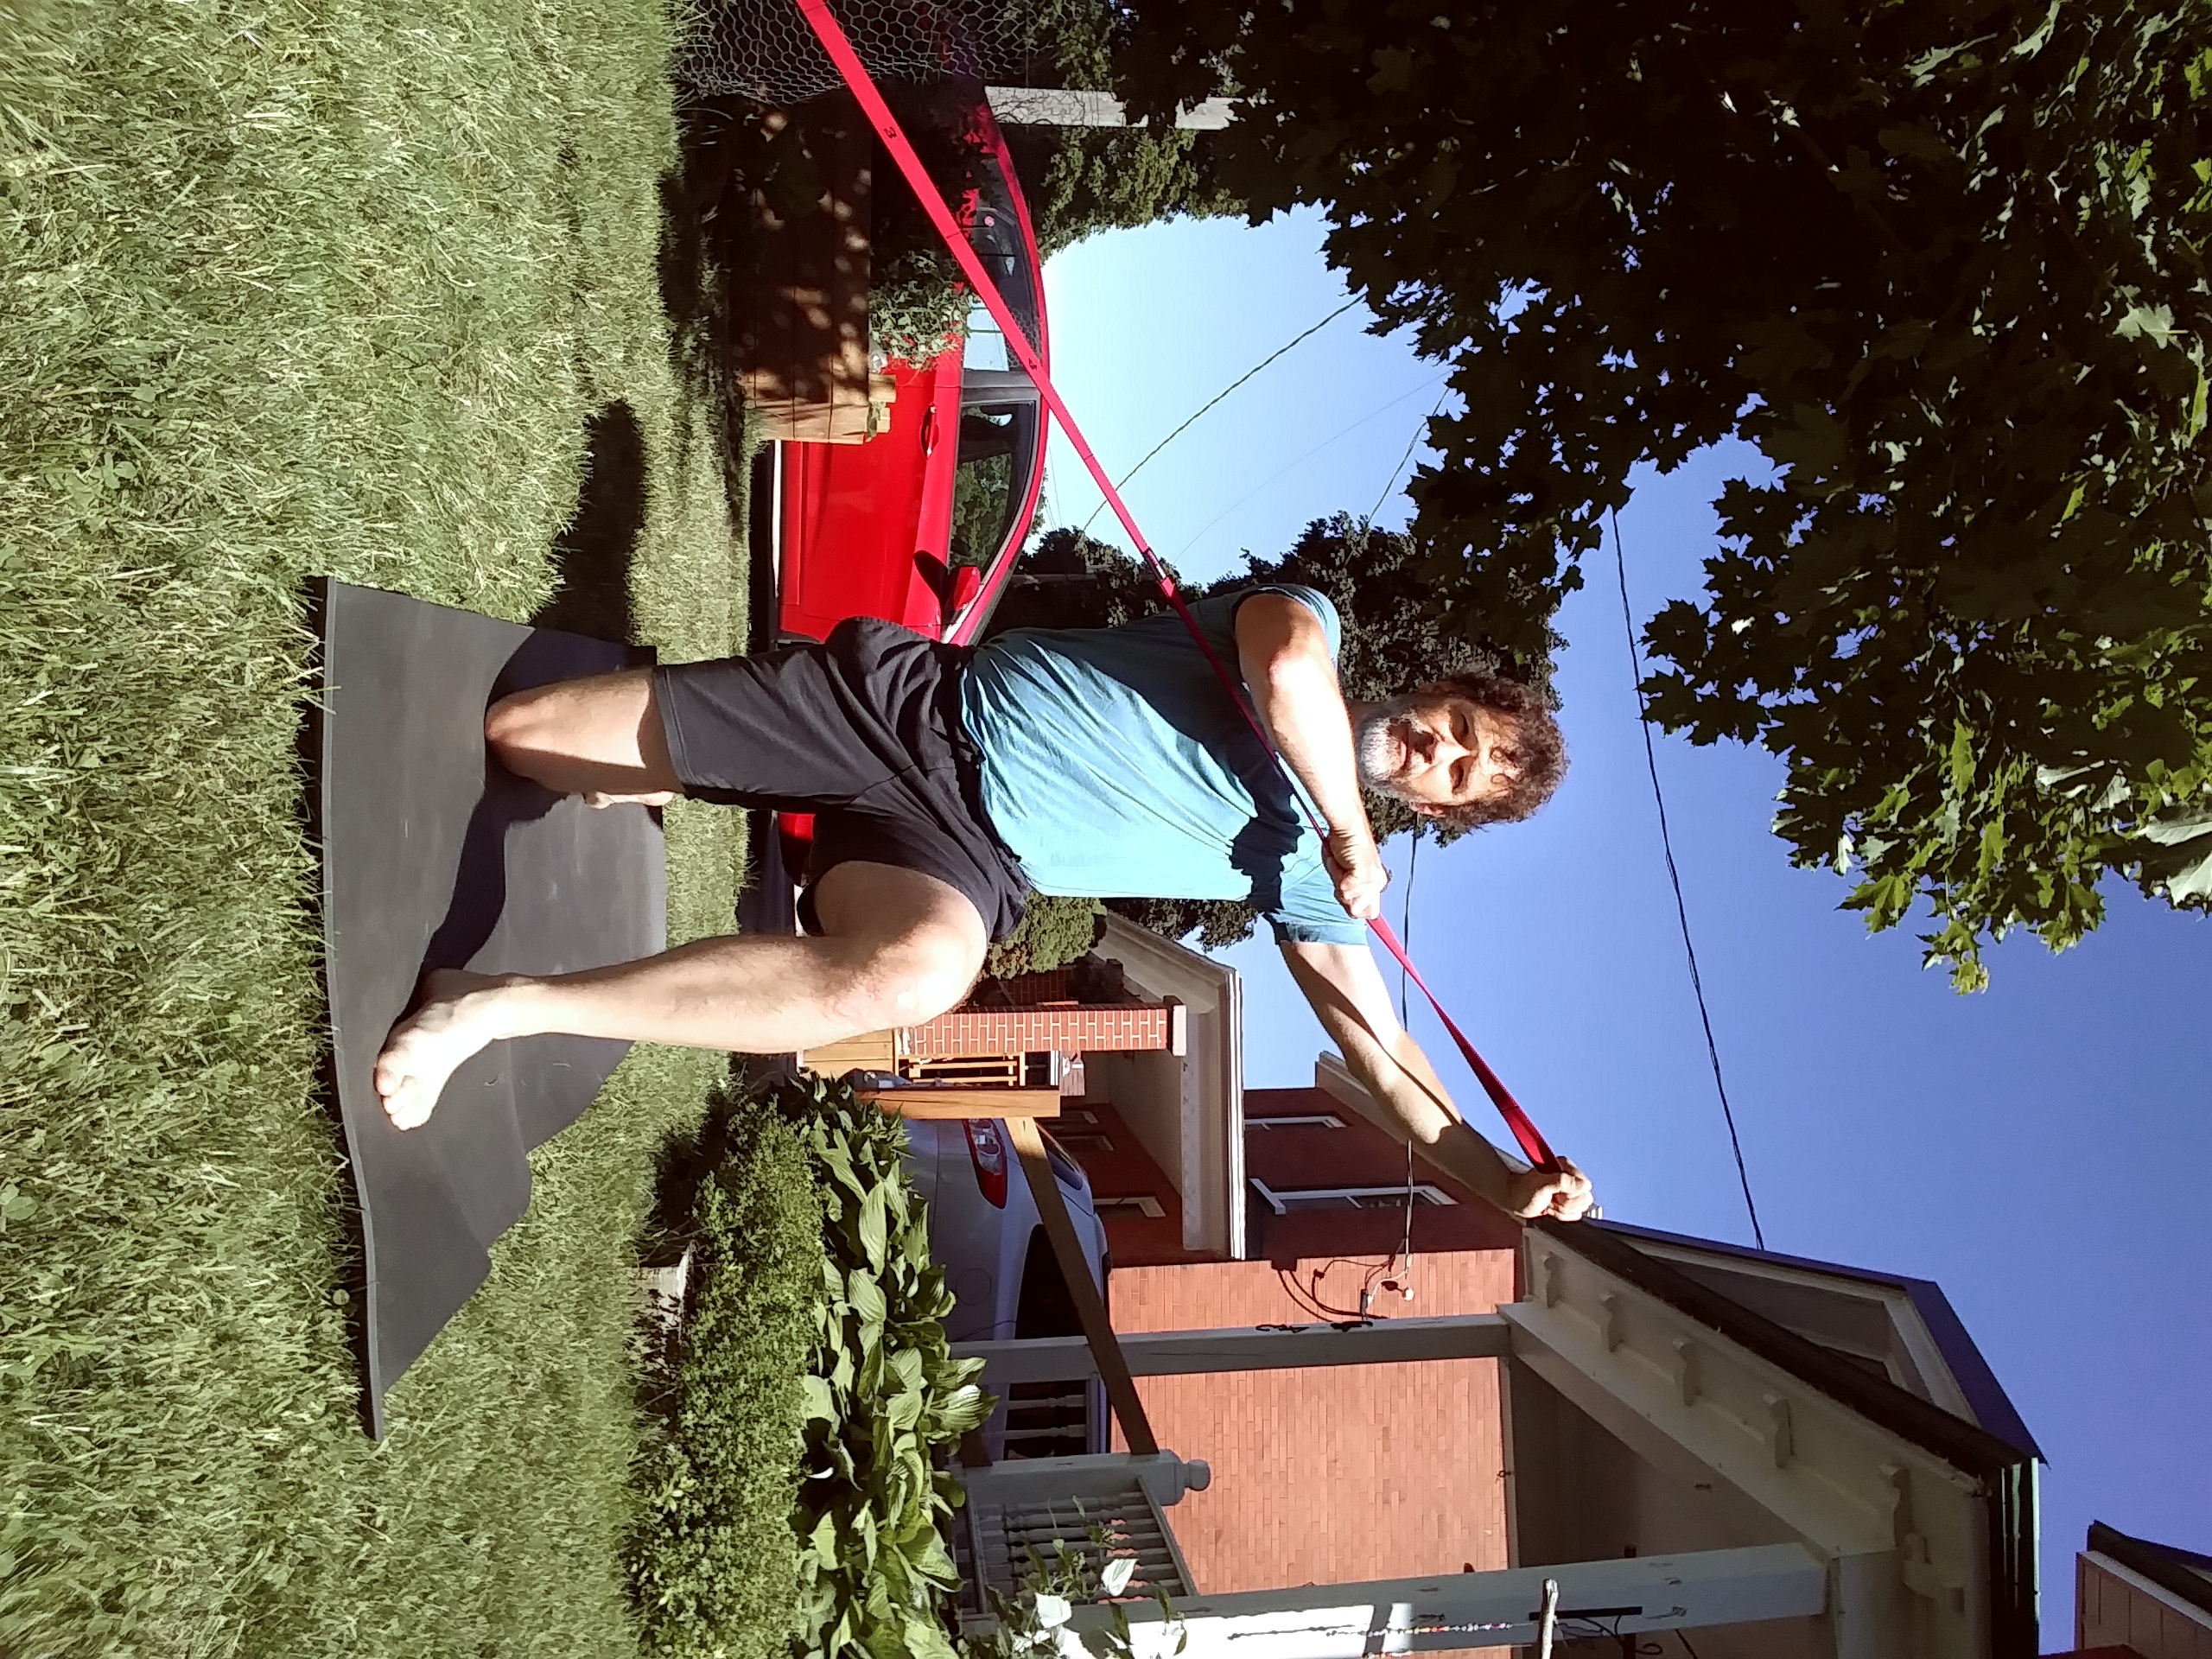
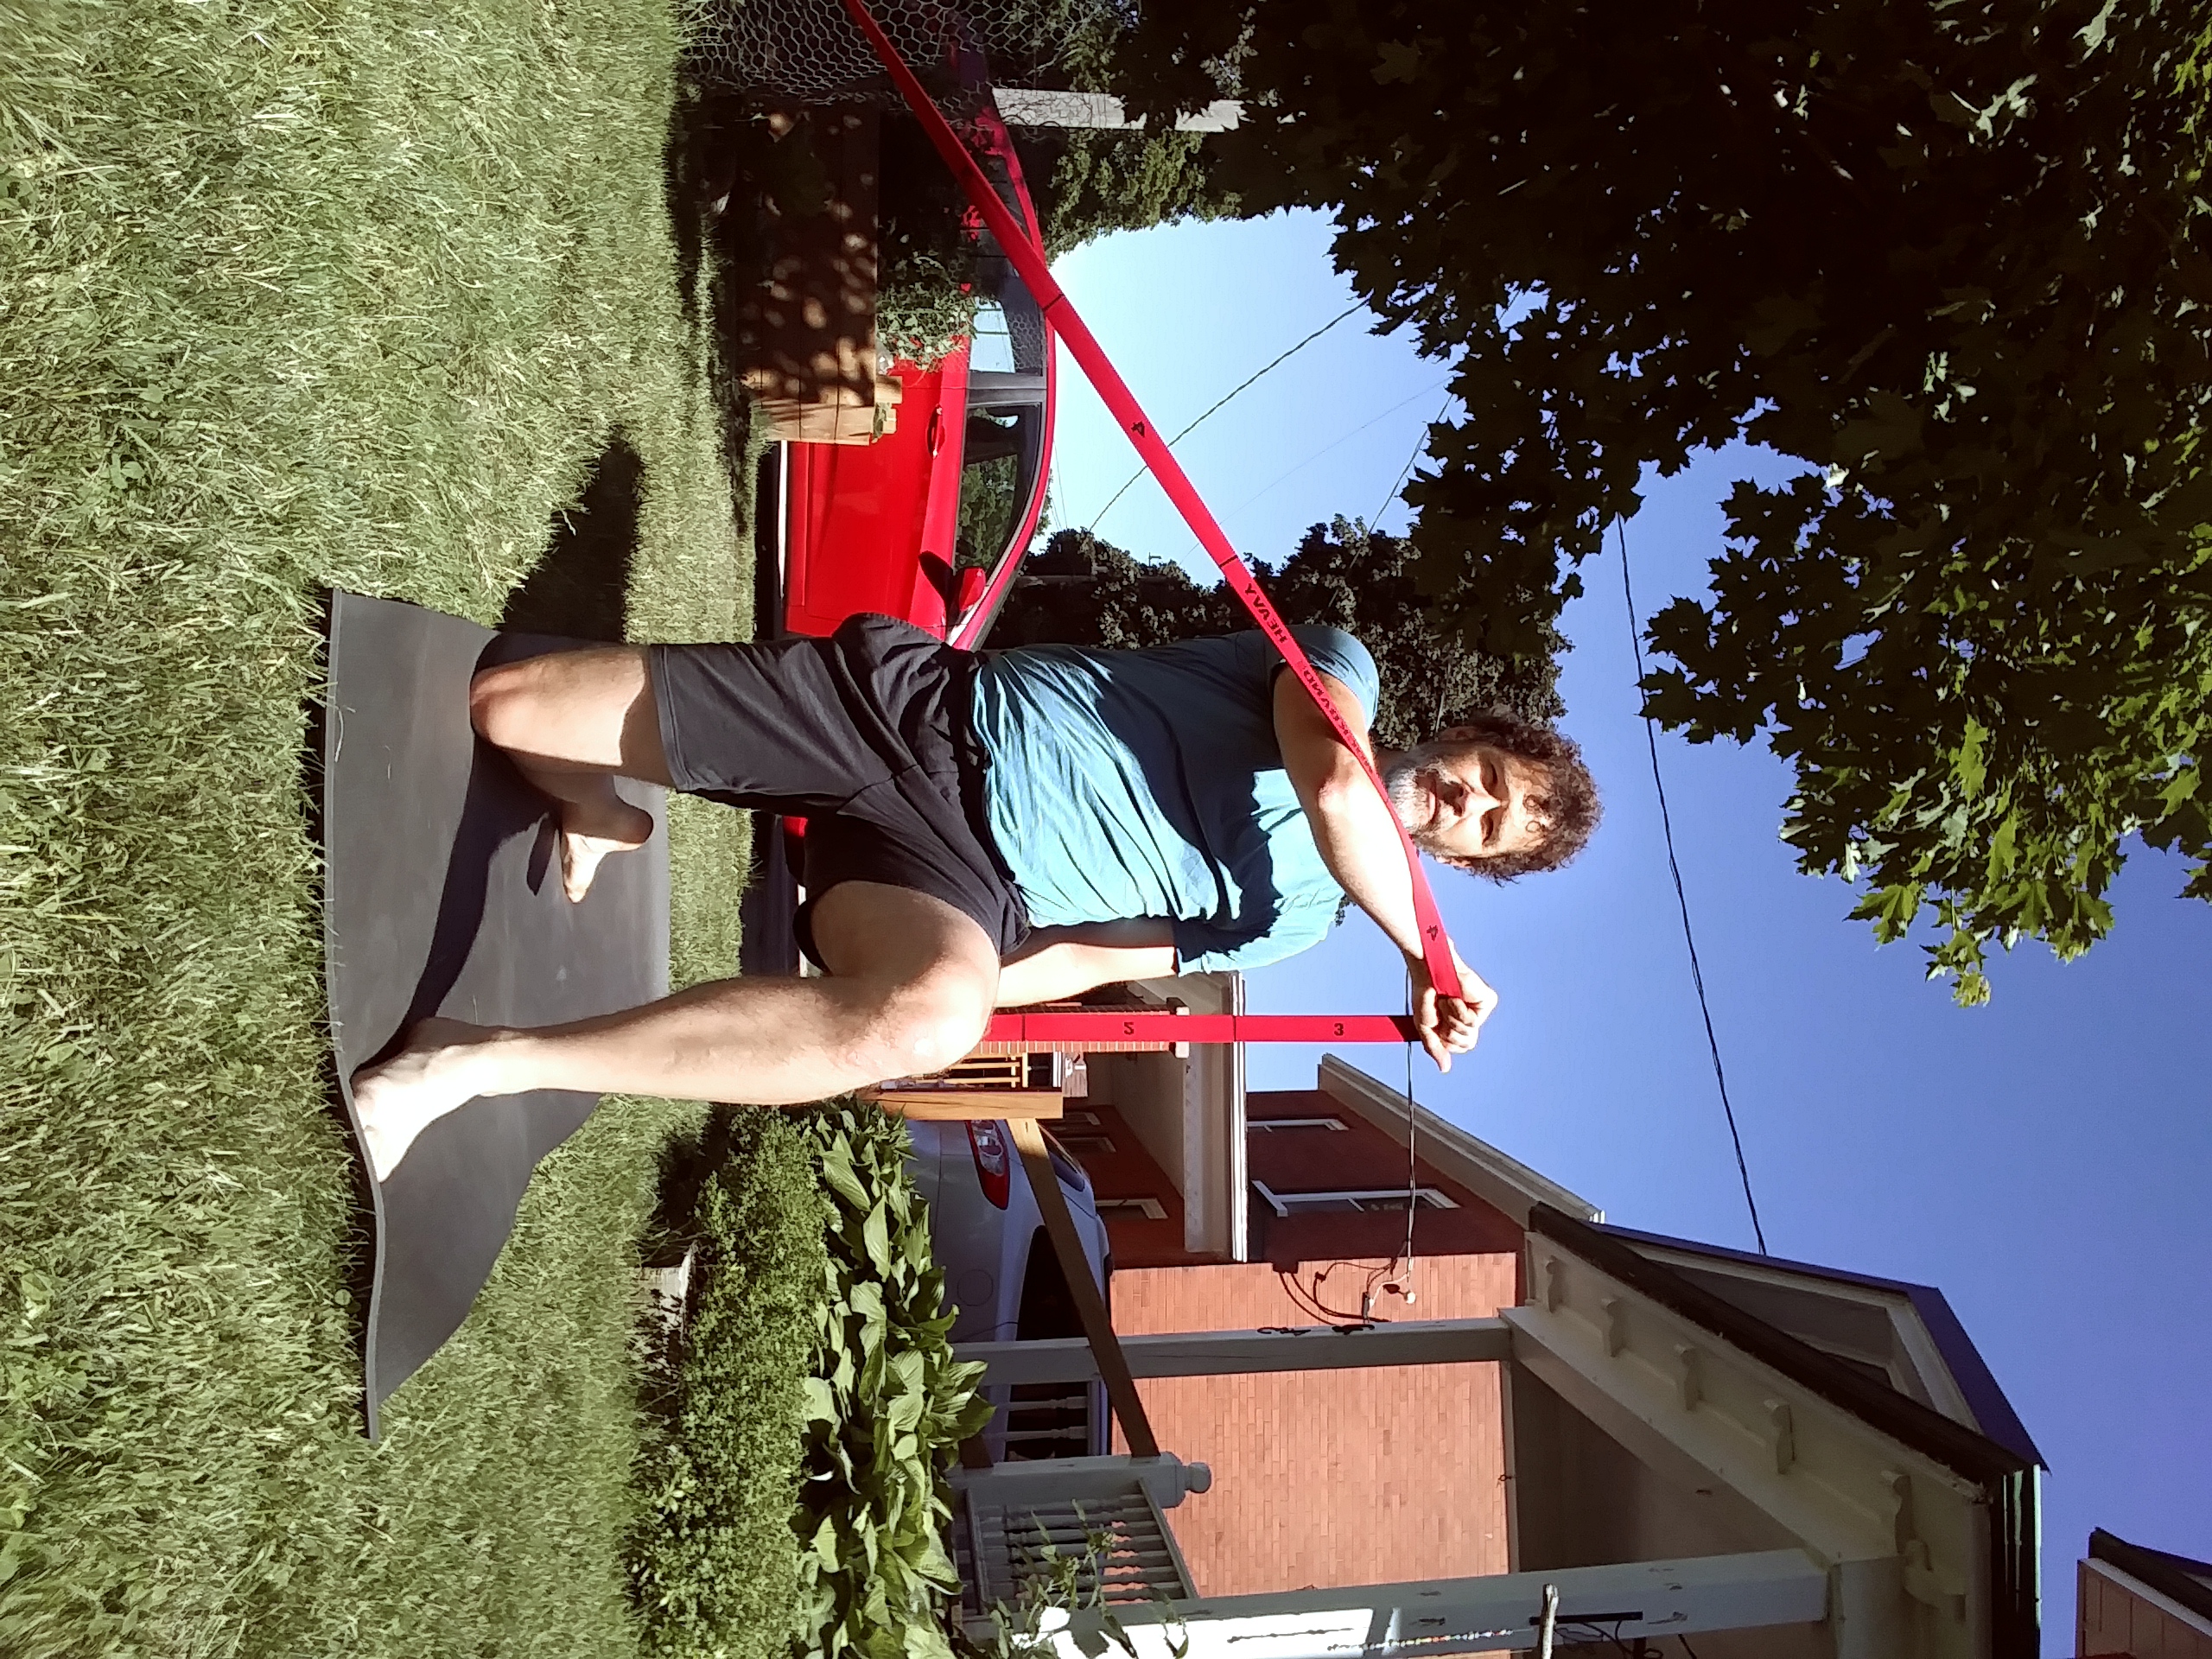
Half kneeling Lift
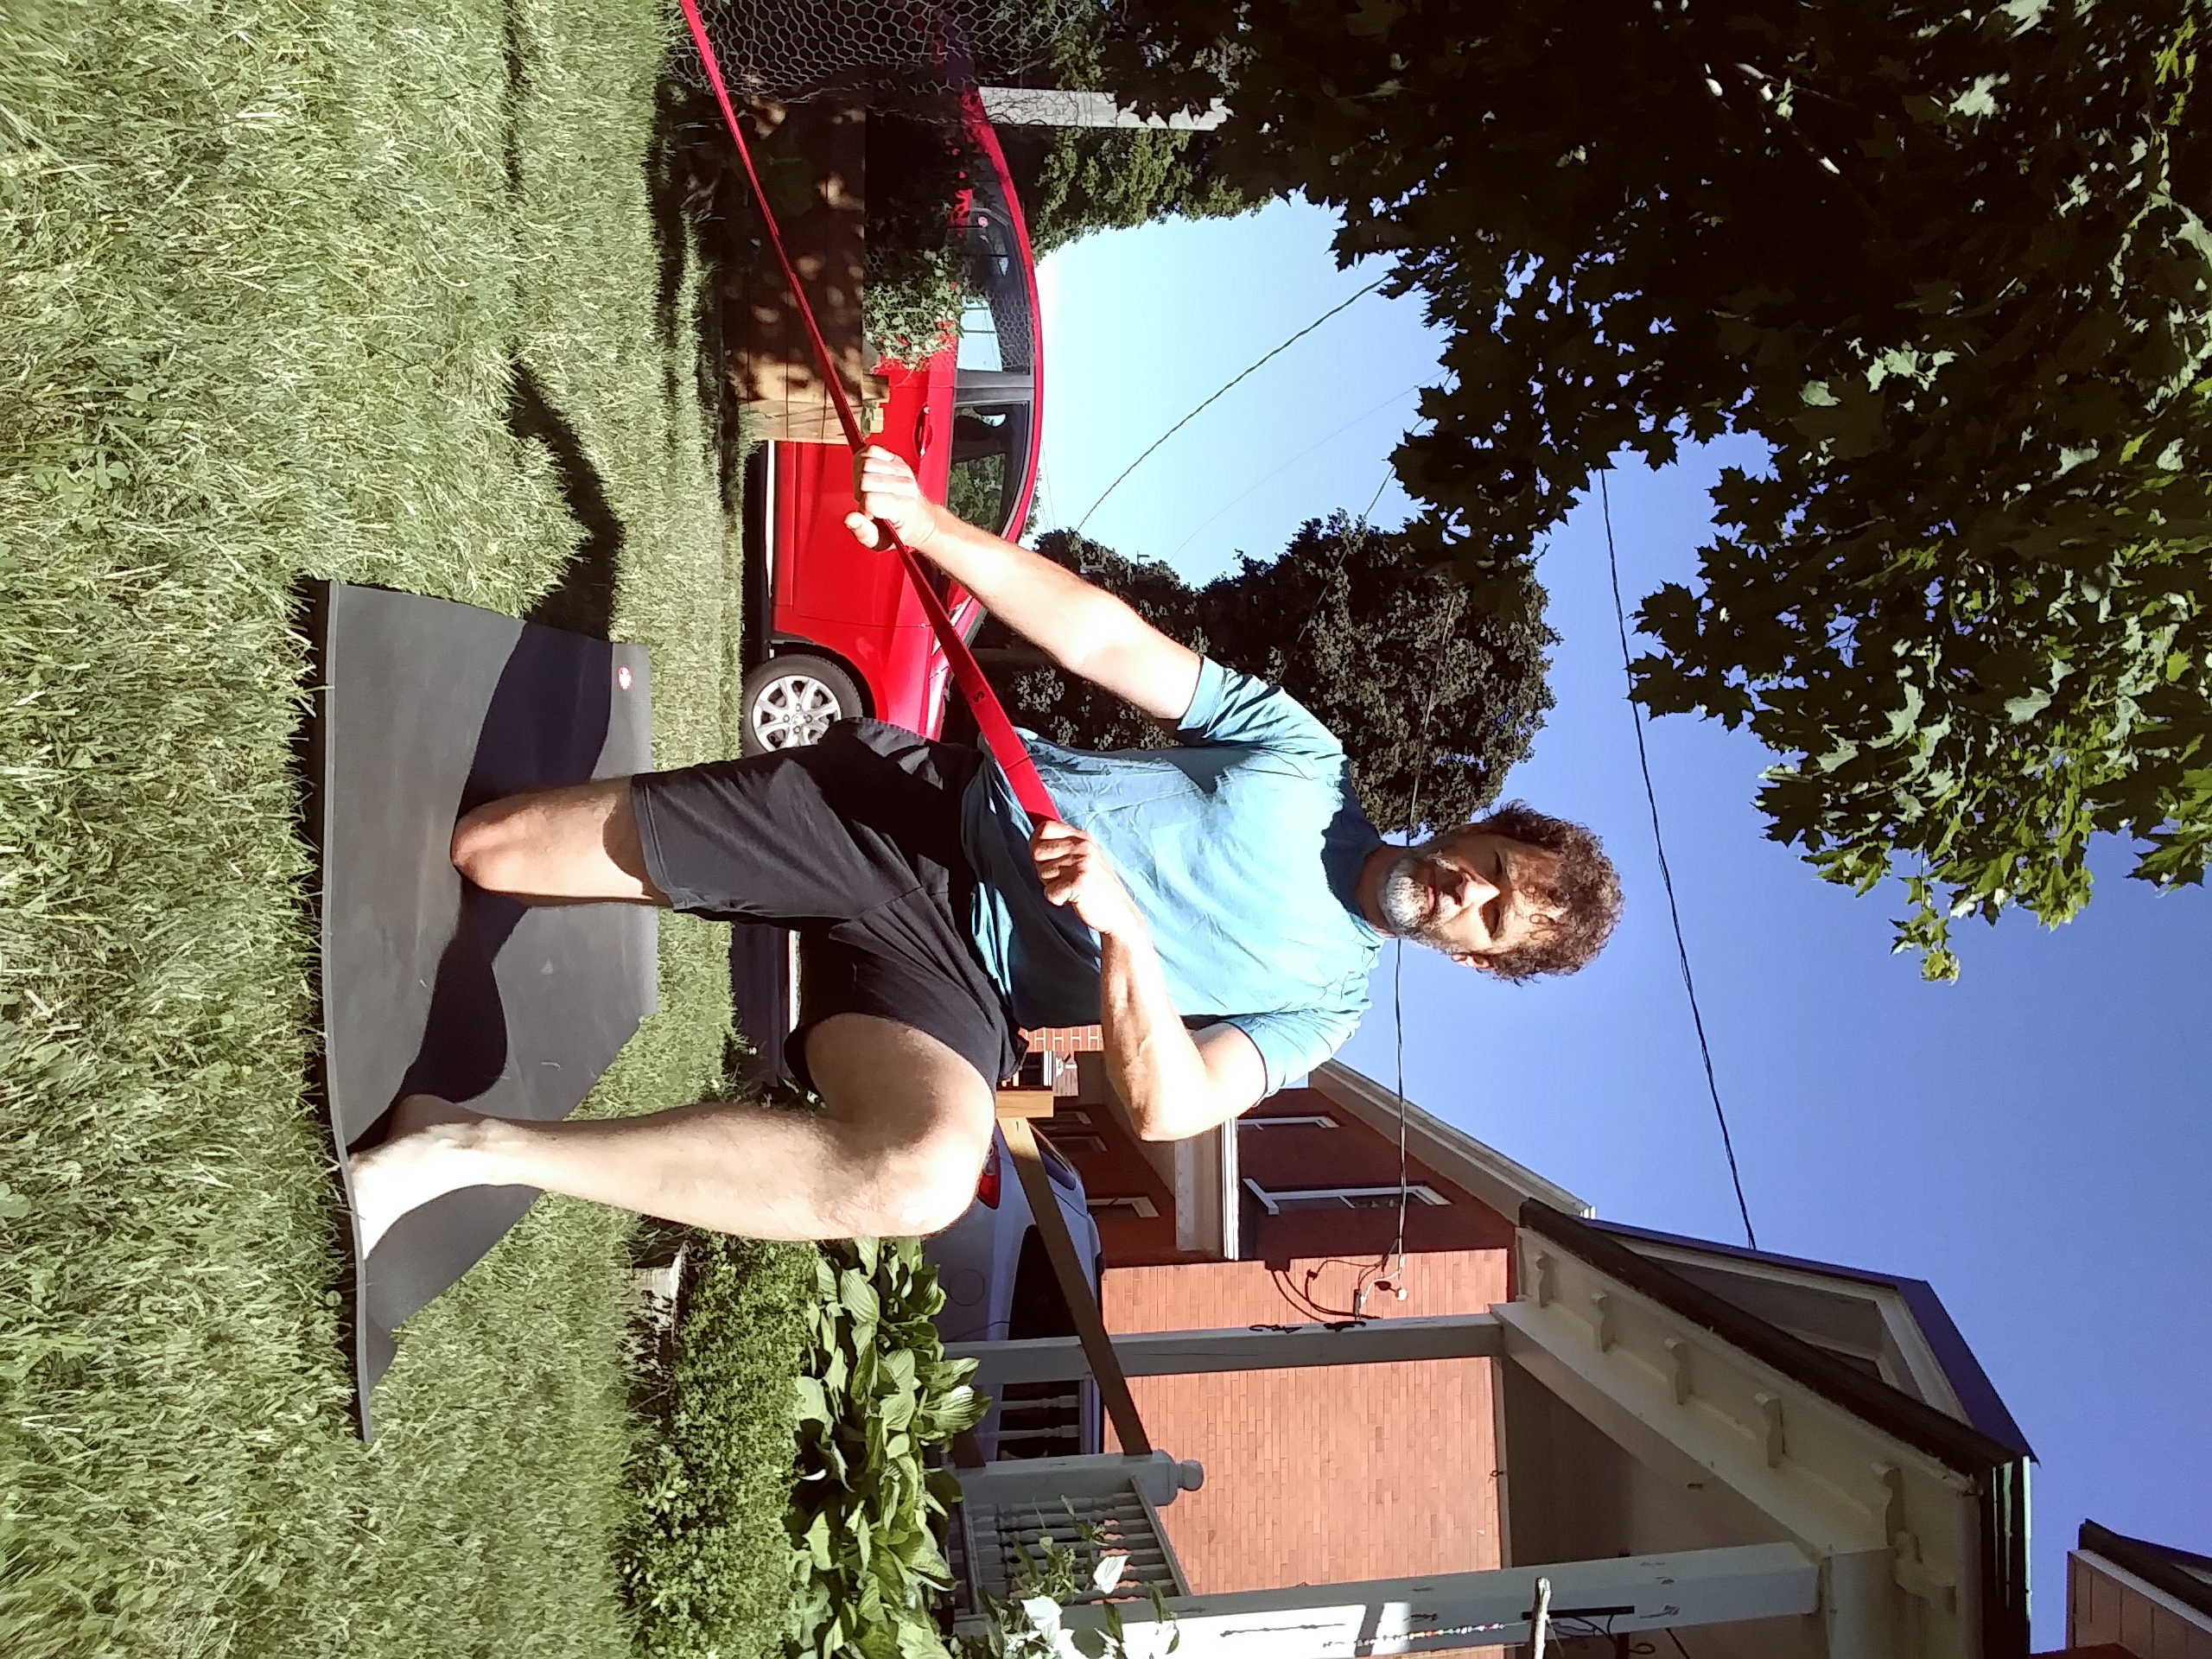
Setup: Attach the end of a RockBand Flex to a secure attachment on a low point. Start in a half-kneeling position with one foot forward, knee bent at a 90-degree angle to your thigh. Placing the other knee directly under your hip. Throughout the corrective exercise, focus on staying as tall as you can. Angle yourself 45 degrees away from the attachment point with the inside knee down. Begin with the arms extended with your palms face down.
Action: Pull the band up across your chest while keeping the band close to your body. When your lower hand is at your shoulders. The top elbow pulls downward to the hip and the lower arm will press upwards. Try to ensure that your shoulders stay level throughout with minimal movement. The band should travel across the body from the hip closest to the attachment point to the opposite shoulder. The movement should only be performed by the arms while the rest of the body stays still. If you need more resistance, move yourself further away from the attachment.
Get-Up Press to Elbow
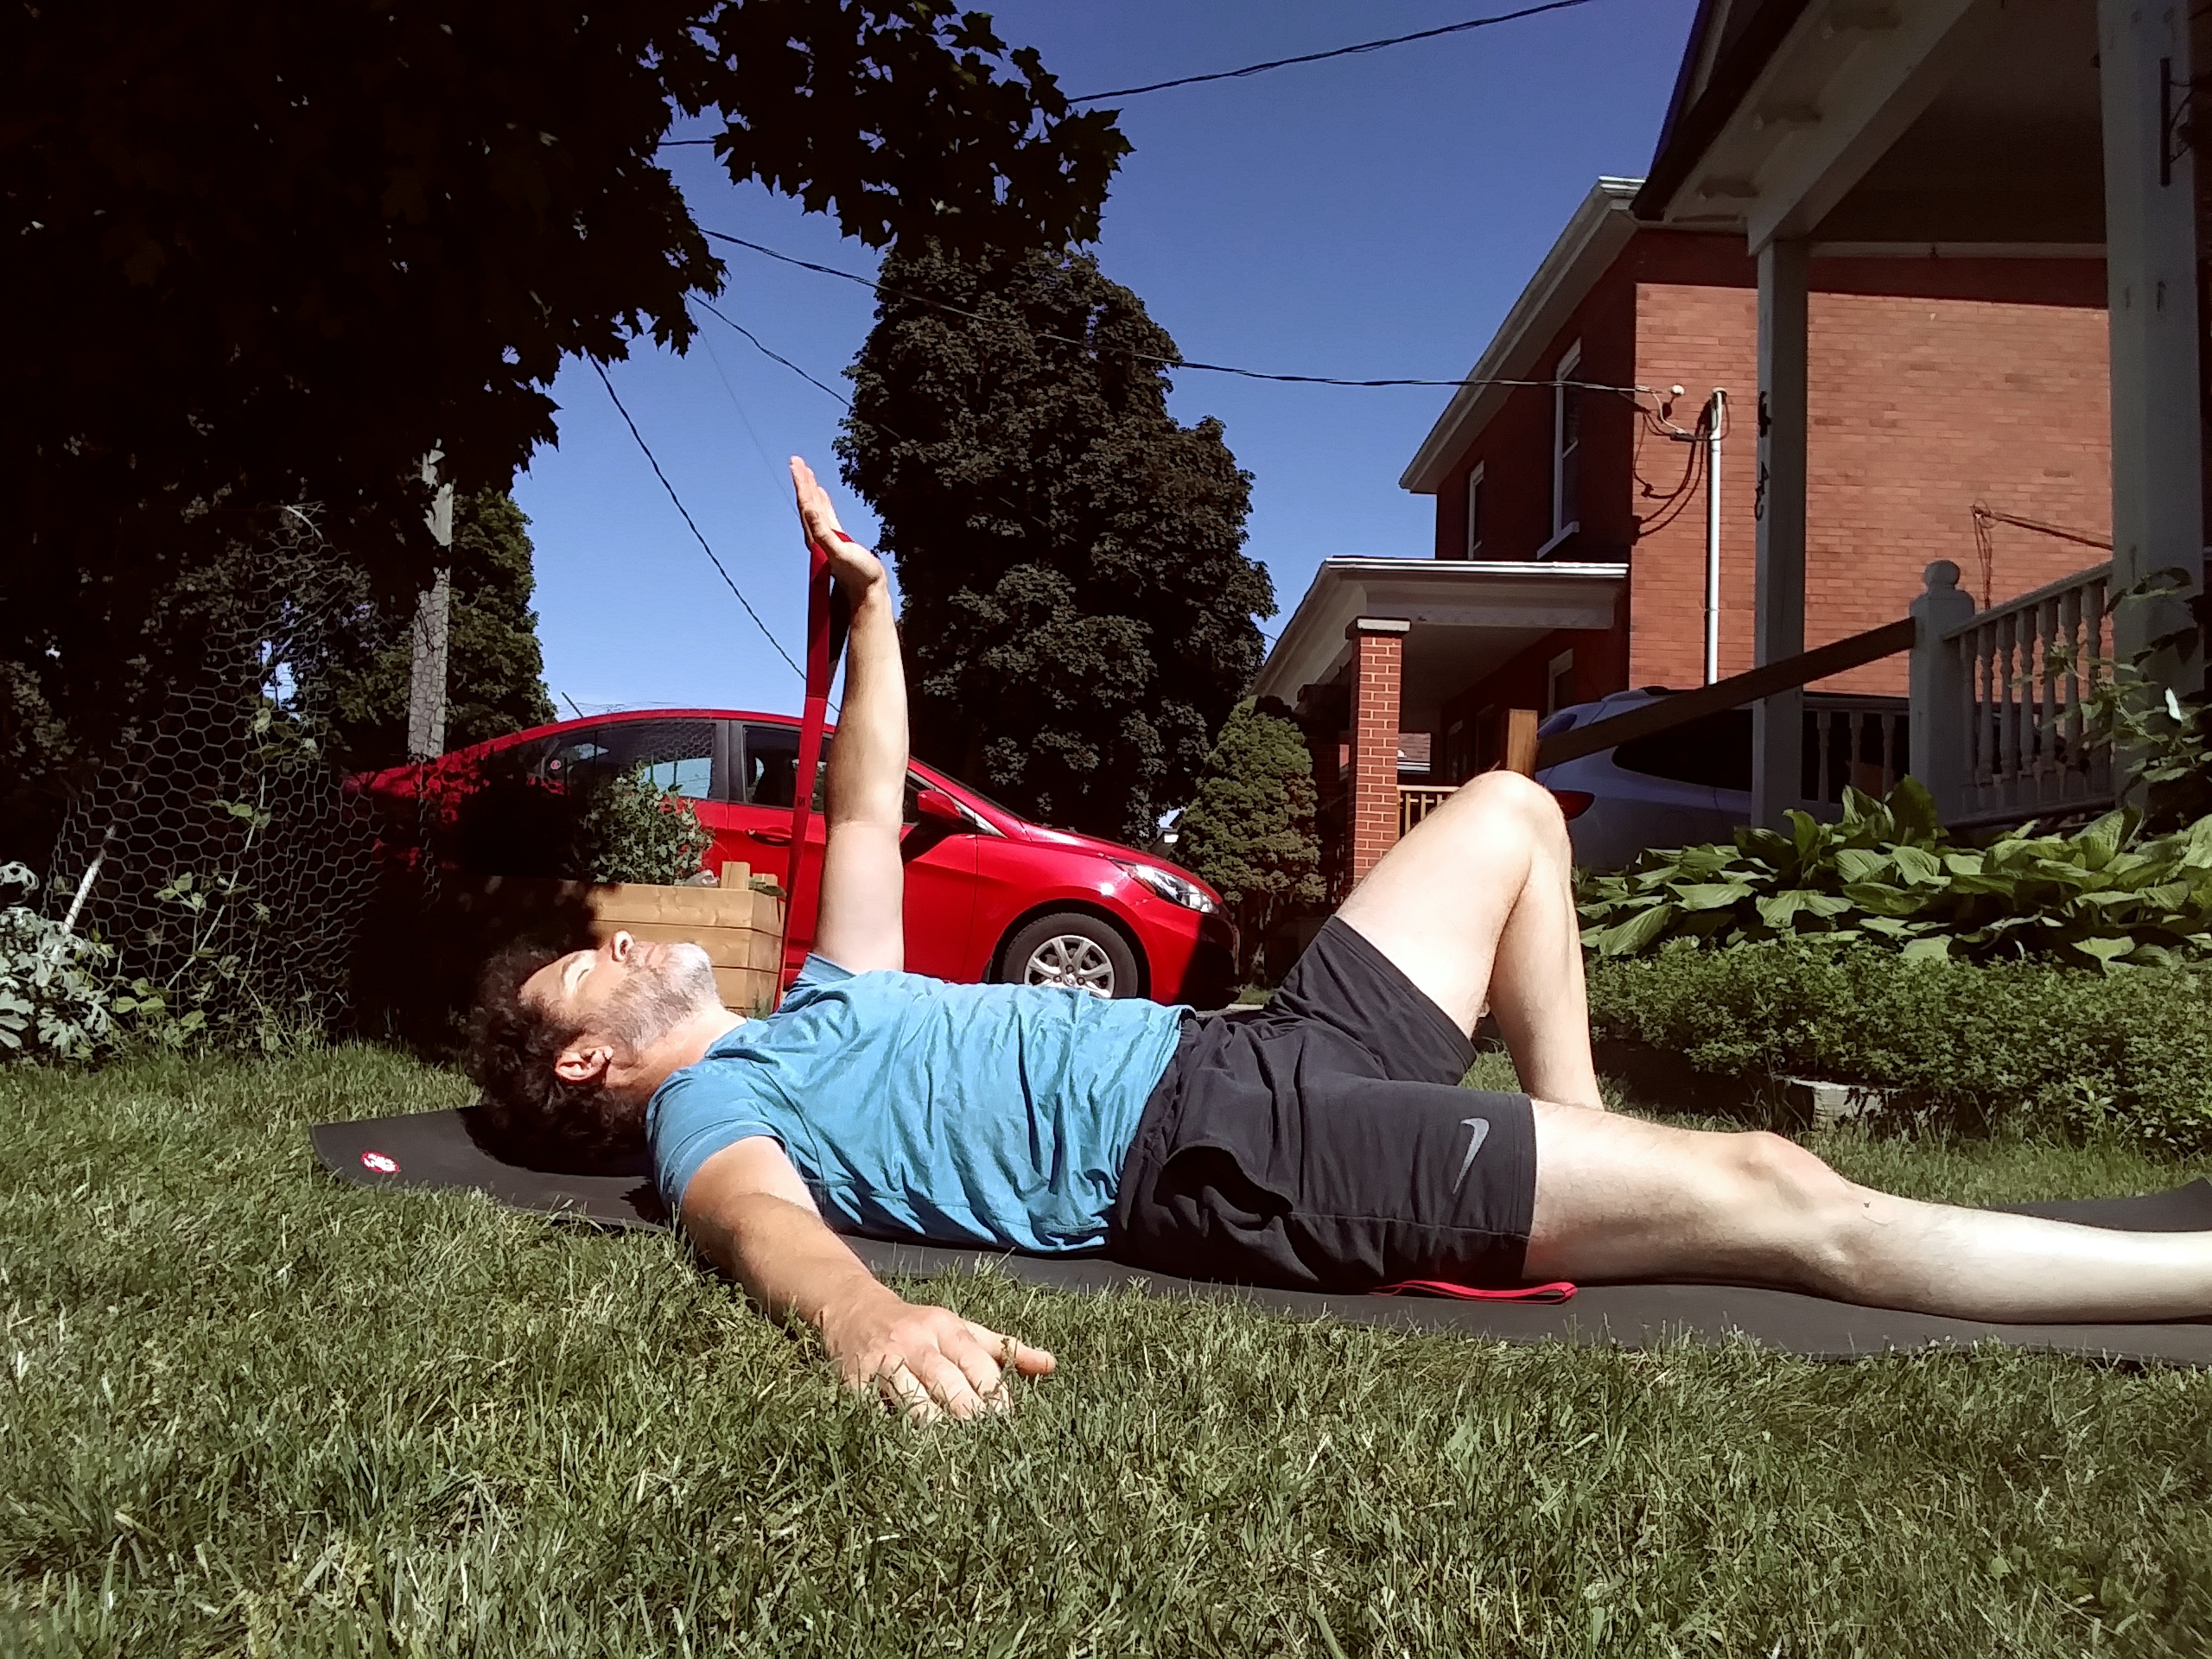
Setup: Begin by lying on your back with three-quarters of the RockBand Flex lying beneath you. Clasp the band in one hand and press that arm up so that it is above the shoulder with your elbow locked and your shoulder away from your ear. Bend the same side knee as the extended arm holding the band, and place the foot on the ground.
Action: Drive through the foot of the bent leg and roll up diagonally resting on the elbow with the arm directly under your shoulder while holding the extended arm vertically. Keep the chest open and lengthen through the hip while keeping the hips and legs stable. Reverse the movement and slowly return to the start position.
Learn More About RockBand Flex
Get your RockBand Flex!
